How to launch a collection in 48h with ready photos
Step-by-step from physical garments to virtual model photos, published in 48 hours for around US$ 50 instead of US$ 1,000 or more in traditional production.
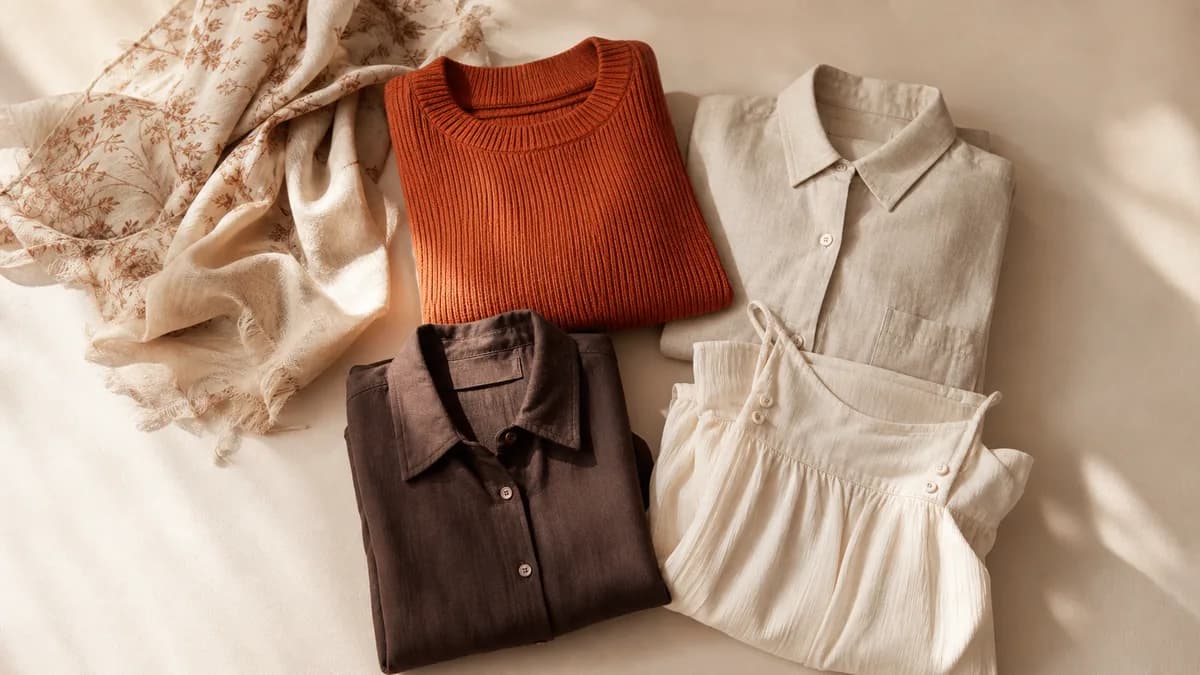
Launching a collection in 48 hours is not an exaggeration. With the right workflow, you go from physical garments to a published catalog in two days, with virtual model photos ready for marketplace, Instagram, and your own store. The cost lands around US$ 50 compared to US$ 1,000 or more for the traditional process.
The difference is the method. This guide shows you the step by step.
Why speed matters so much in fashion retail
The trend cycle has gotten short. A piece that appears on TikTok today can be declining in three weeks. A store that takes 30 days to photograph and publish misses the sales window and ends up with stuck inventory at the wrong time.
Every day of delay in launching has a cost:
- Capital tied up in unsold inventory
- Faster competitors capture the first sales
- The trend may already be fading by the time you publish
- The launch momentum that drives social media engagement is lost
The traditional fashion photography process solves this in 3 to 4 weeks. Photographers and studios need advance booking. Editing takes days. The average cost of a production with photographer, model, studio, and editing runs around US$ 800 per day, with 20 to 30 pieces photographed.
The new AI workflow: two days, not three weeks
With AI fashion tools, the process changes completely:
| Step | Traditional process | AI process |
|---|---|---|
| Booking photographer and studio | 1 to 2 weeks | Not needed |
| Photo session | 1 day | 1 day (just you) |
| Editing and retouching | 5 to 10 days | Hours (automatic) |
| Photos ready to publish | 3 to 4 weeks | 48 hours |
| Cost (50 pieces) | US$ 1,000 to US$ 4,000 | US$ 50 to US$ 80 |
A photo session still exists in both processes. The difference is that with the AI model, you photograph the garments on a hanger, on a mannequin, or flat lay, without needing a model, studio, or crew.
Day 1: organization and photo session
Morning (3 to 4 hours): prepare garments and setup
Organize the catalog first. List all collection pieces with each SKU. Group by category (tops, pants, dresses) to photograph in sequence and maintain consistency.
Prepare each garment:
- Iron everything before photographing: wrinkles carry over to the AI result
- Remove visible price tags
- Check for loose threads or marks that might show in the photo
Set up the photo area:
- White or neutral gray background (backdrop paper, large cardstock, or a white wall)
- Two light sources from the sides (ring light or softbox), or natural window light from both sides
- Mannequin, hanger, or stand to keep the garment extended and flat
- Smartphone with a good camera or DSLR on a tripod
A functional setup costs between $30 and $100. For those just starting, window light with white cardstock taped to the wall already works for the main marketplaces. The guide on how to photograph clothes for AI has complete setup details.
Afternoon (4 to 6 hours): photo session
Recommended pace: 5 to 8 minutes per piece, 3 photos per piece (front, back, detail).
At this pace, you photograph 30 to 50 pieces in one afternoon.
To keep speed up:
- Don't aim for perfection in each photo, aim for consistency between photos
- Don't change the light setup between pieces
- Don't move the camera between pieces in the same category
- Take three photos per piece and choose the best when transferring to the computer
Key points for each photo:
- Entire garment in frame, with margin on all four sides
- Camera at the center height of the piece, perpendicular to it
- No parts cropped (sleeve, hem, neckline)
- Uniform lighting, no strong shadow on one side
The article about photo mistakes that affect AI results explains what each photo error causes and how to fix it before uploading.
Evening (1 to 2 hours): selection and organization
- Transfer all photos to the computer
- Create a folder for each SKU
- For each piece, select the best photo of each angle
- Back up to the cloud before going to sleep
Day 2: AI processing and publication
Morning (3 to 4 hours): generate model photos
VestiAI workflow:
- Create an account (free plan has 5 credits with no card; Basic plan is US$ 39.90/month for 80 photos)
- Upload the garment photo
- Choose the virtual model: gender, skin tone, body type, style
- Choose the pose and scene
- Generate the photo, ready for review in minutes
Estimated time for a collection of 50 pieces:
- Upload and configuration: 30 to 40 minutes
- Processing: 2 to 3 minutes per piece
- Review and approval: 1 to 2 hours
Total: around 4 hours for 50 pieces with a model, ready to publish.
The tool preserves the print, drape, and texture of the original garment. If the input photo is good (uniform lighting, ironed garment, complete framing), the result comes out ready for your catalog without additional editing.
Afternoon (3 to 4 hours): preparation for publication
Final photo adjustments:
- Crop to the format required by each channel (square for Instagram, 4:3 for Amazon, etc.)
- Rename files with each product's SKU
- Add a watermark if required for the channel
Creating marketing assets:
- Main photo for marketplace (clean background, well-framed piece)
- Versions for Instagram feed and stories
- Launch banner for the website or e-commerce store
End of day (2 to 3 hours): listing and publication
List products on the platform:
- Upload photos for each SKU
- Fill in title, description, and price
- Categorize correctly
- Fill in size, color, and material attributes
Launch on social media:
- Launch post with the best photos
- Stories showcasing the collection highlights
- Schedule ads if you have a paid traffic budget
Run the numbers for a 50-piece collection: 50 photos means 50 credits, well within the Basic plan at US$ 39.90 per month. A traditional shoot averages far more and depends on booking a photographer, a model and a studio, which alone makes a 48-hour launch impossible.
Complete 48h launch checklist
Day 1
- [ ] SKU list built and pieces organized by category
- [ ] All garments ironed and free of visible tags
- [ ] Photo setup built and tested
- [ ] All pieces photographed (front, back, detail)
- [ ] Photos transferred, organized by folder, and backed up
Day 2
- [ ] Photos processed with virtual model (all approved)
- [ ] Files renamed with SKU
- [ ] Products listed on platform with title and price
- [ ] Launch posts and stories published
- [ ] Email or push to customer base sent (if applicable)
What this process costs
For a collection of 50 pieces:
| Item | Estimated cost |
|---|---|
| Photo setup (if you don't have one) | $30 to $100 (one-time investment) |
| VestiAI Basic plan (1 month) | US$ 39.90 (80 photos) |
| Work time | 2 days of your time (no third parties) |
| Total | US$ 70 to US$ 140 |
Compared to traditional production for 50 pieces (photographer, model, studio, editing): US$ 1,000 to US$ 4,000, plus 2 to 4 weeks of waiting.
For a detailed financial comparison, see photo shoot cost vs AI.
What you gain beyond speed
Beyond launching faster, the AI workflow brings other advantages:
Diverse models at no extra cost. You choose the model for each photo. Want to show the piece on different skin tones or genders? Same generation, no extra fee.
Consistency across batches. All photos in the collection share the same visual standard, which improves catalog appearance.
Testing new pieces with no commitment. Received samples from a new supplier? Photograph and generate the model photo before ordering the full run. The cost is 1 credit.
No schedule dependency. You photograph when you want, process when you want. No photographer to book, no studio to reserve.
The workflow exists. The cost is real. What's left is testing with your own pieces to see how it works in practice.
VestiAI's free plan gives 5 credits with no card required. With 5 credits you already have results for 5 pieces to evaluate. Create a free account.
Related Articles
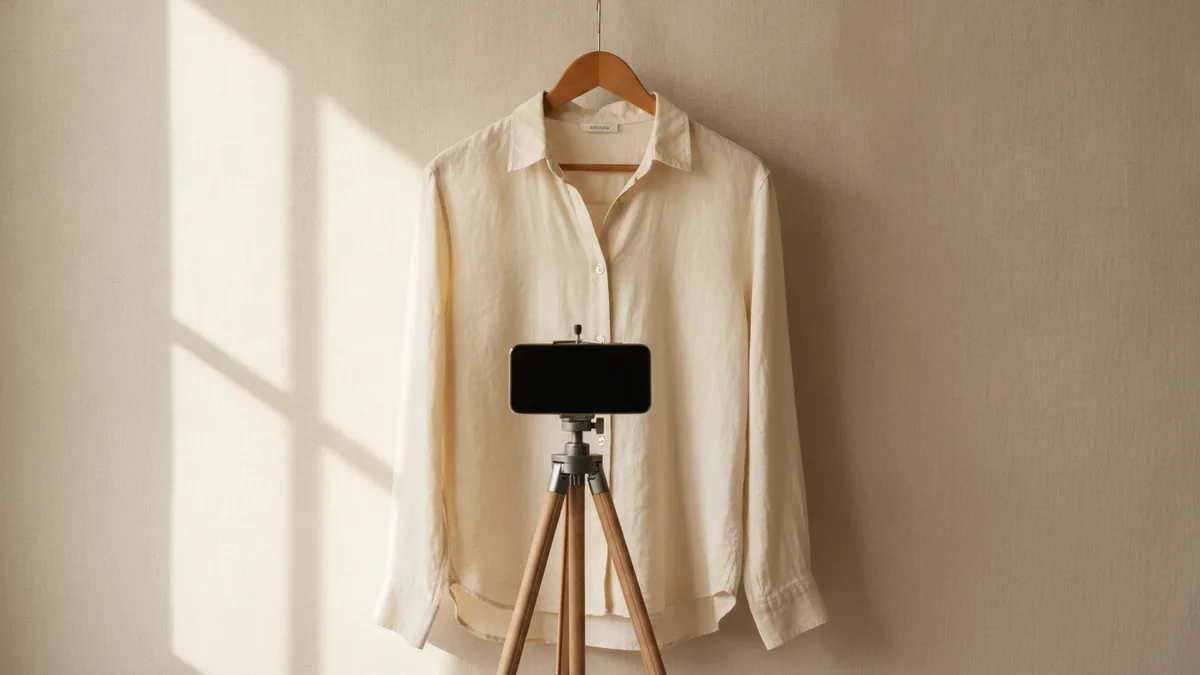
How to Photograph Clothes for AI: Practical Guide
How to photograph clothes for AI and get realistic virtual models. Lighting, angle, background, and a common-mistakes checklist for any smartphone.
Read article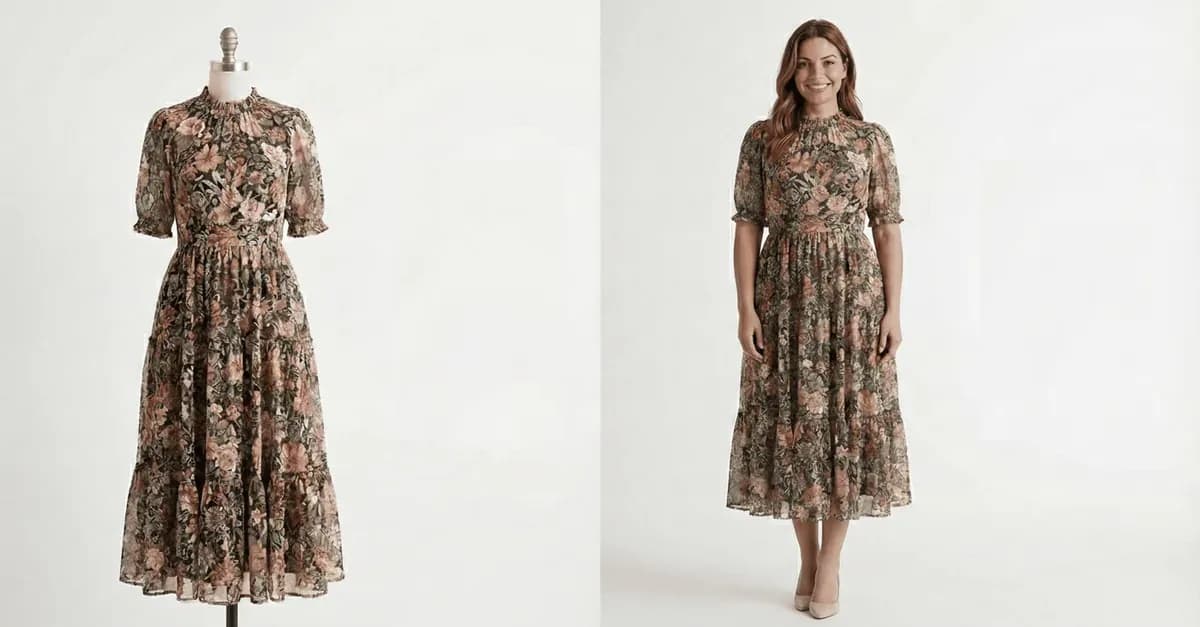
Does a Mannequin Photo Work for AI? Yes, With These Tips
Mannequin photos work well for AI, but results depend on the mannequin type and image quality. See the comparison and the right checklist for each case.
Read article
AI in Fashion 2026: Real Trends and Opportunities
Which AI tools for fashion already work in 2026 for small stores, what is still hype, and how to start without spending much.
Read article