Complete Guide to Fashion E-commerce Photos
Learn how to create professional photos for your online clothing store. Complete guide with lighting, angles, and editing for e-commerce.
Quality photos are the #1 factor that influences purchasing decisions in online clothing stores. Studies show that 67% of consumers consider photo quality more important than the product description.
In this complete guide, you'll learn everything you need to create professional photos for your fashion e-commerce, even without expensive equipment or prior experience.
Why Quality Photos Are Essential
Before getting into the technical details, let's understand the real impact of photos on your business:
- 30% increase in conversions with high-quality photos
- 25% reduction in returns when customers see details
- More time on page = better Google ranking
- Sharing on social media increases with attractive photos
Equipment Needed
The good news is you don't need expensive equipment to start.
Camera
Basic option: Modern smartphone (iPhone 11+ or Samsung Galaxy S20+)
- 12MP camera or more
- Portrait mode for natural blur
- Image stabilization
Advanced option: DSLR or Mirrorless camera
- Canon EOS Rebel or Nikon D3500 for beginners
- 50mm f/1.8 lens for product photos
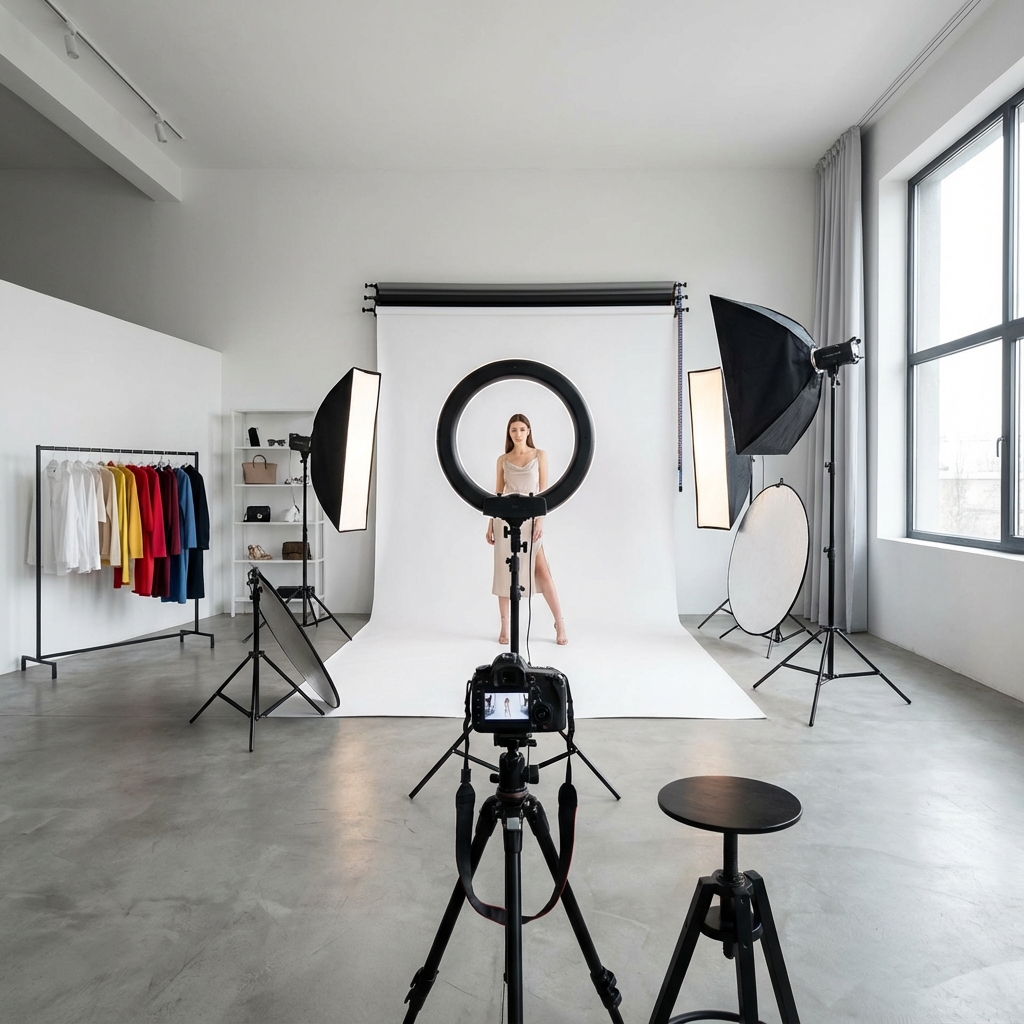
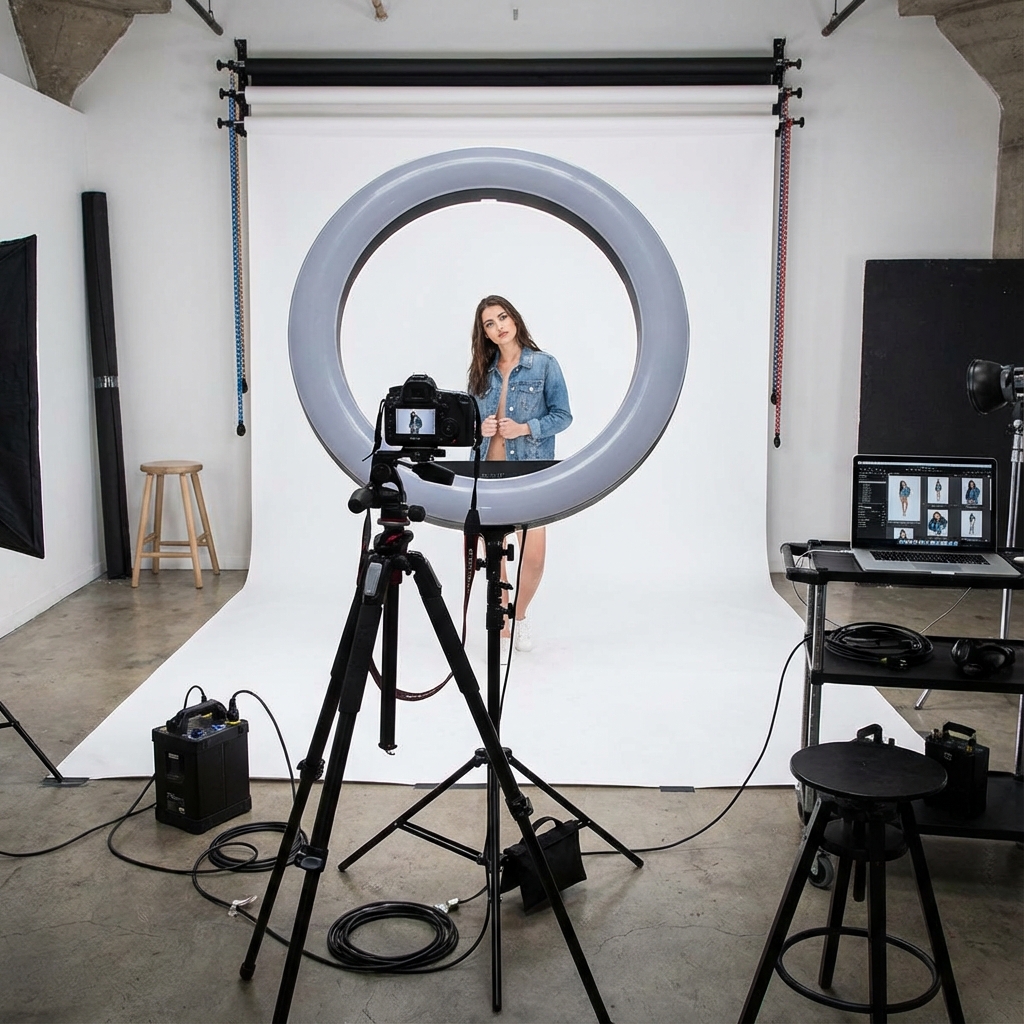
Lighting
Lighting makes more difference than the camera. Options:
Natural light:
- Near a large window
- Diffuser or white curtain to soften
- Photograph between 10am and 3pm
Artificial light:
- 18" ring light (most common and versatile)
- Softbox for more professional lighting
- 2-3 light points to eliminate shadows
Background
The most versatile background is seamless white:
- White backdrop paper (2.7m roll)
- White fabric without texture
- Plain white wall
Camera Settings
For Smartphones
- HDR: Off (can create artifacts)
- Flash: Off (use natural or artificial light)
- Grid: On (for alignment)
- Resolution: Maximum available
For DSLR Cameras
- ISO: 100-400 (lower = less noise)
- Aperture: f/8-f/11 (sharp focus on entire piece)
- Speed: 1/125 or higher (avoids blur)
- White balance: Manual or daylight
Types of Photos You Need
For each product, we recommend:
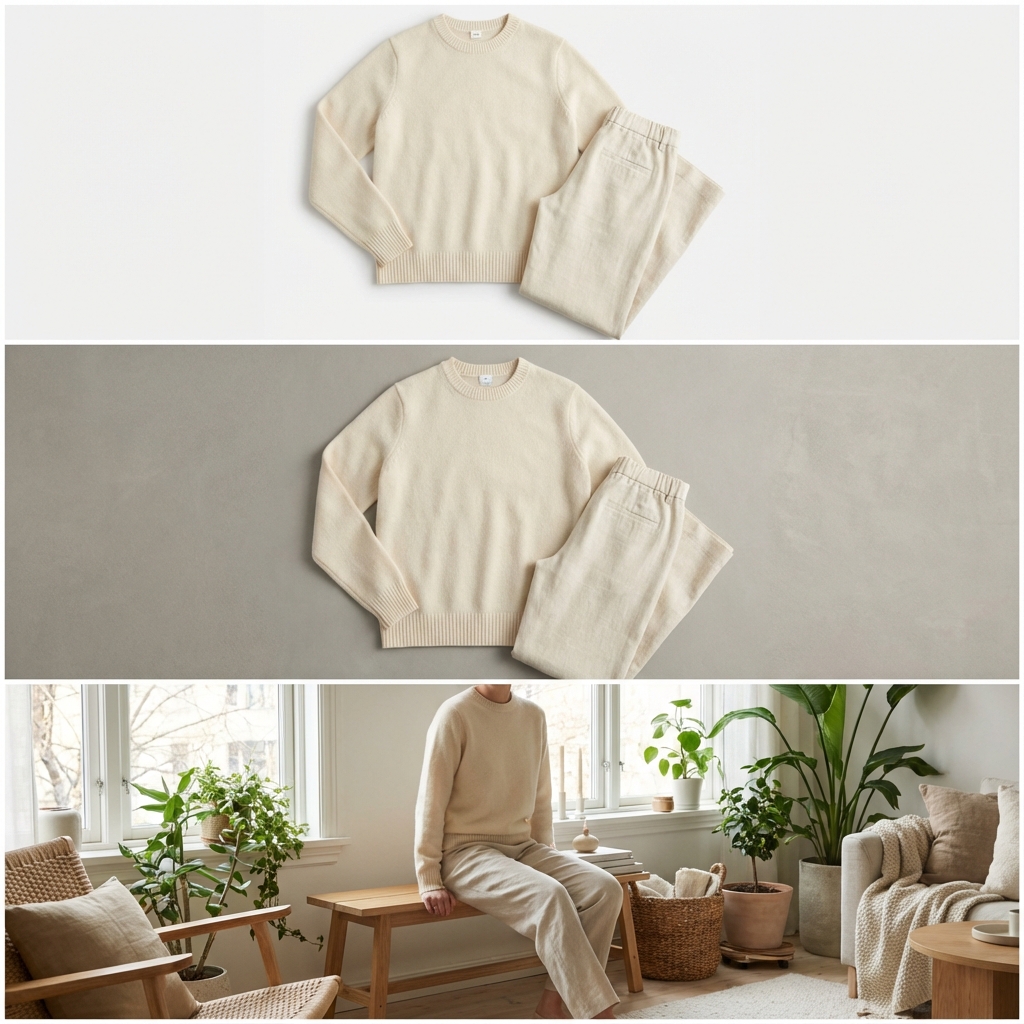
Main Photo (Front)
- Complete framing of the piece
- Clean white background
- Uniform lighting
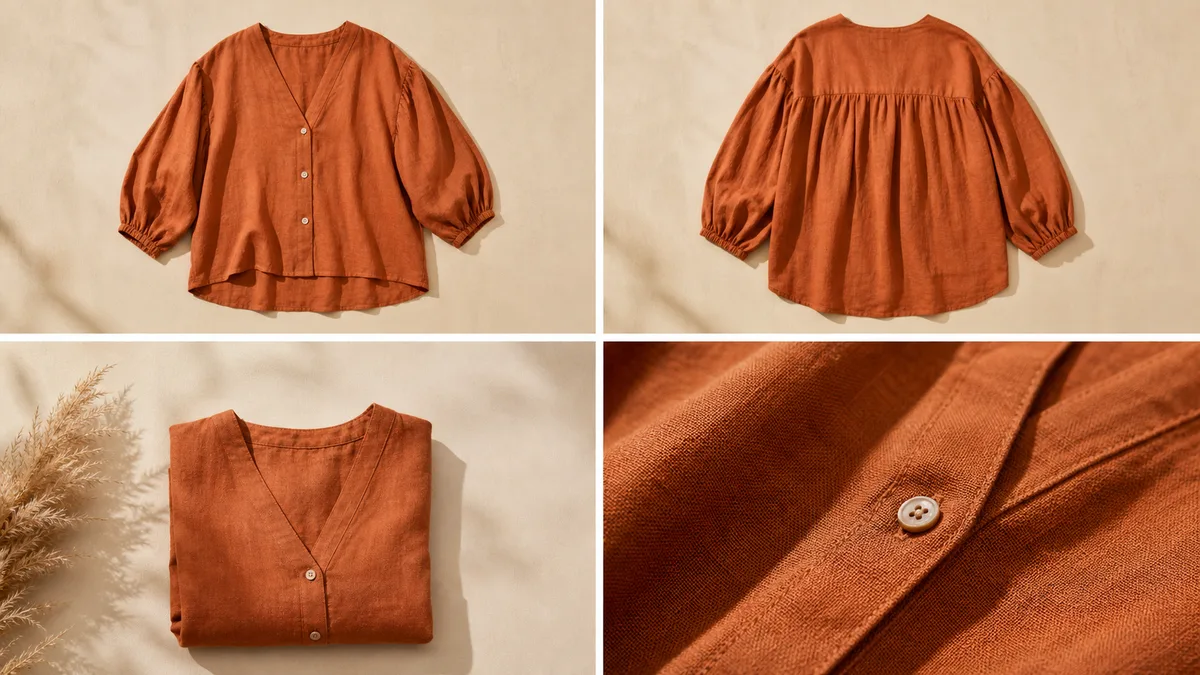
Back Photo
- Same angle and lighting as front
- Shows back details
Detail Photos
- Close-up on fabric and texture
- Labels and finishes
- Buttons, zipper, seams
Lifestyle Photo (Optional)
- Clothing in use context
- Environment that represents your audience
- Can use model or AI
Clothing Preparation
Before photographing:
- Iron well - No visible wrinkles
- Remove price tags - Only the product tag
- Adjust on mannequin - Use pins if necessary
- Check for lint - Use adhesive roller
- Align the piece - Straight seams, symmetrical
Basic Editing
After photographing, edit to:
- Correct exposure (brightness)
- Adjust white balance (real colors)
- Remove background (if necessary)
- Standardize size (800x1000px for e-commerce)
- Compress (for fast loading)
Free tools:
- Canva (basic)
- Remove.bg (remove background)
- GIMP (advanced editing)
How AI Can Help
After having your base photos, you can use AI to:
- Put on virtual model (saves real model costs)
- Create variations of background and scenery
- Generate lifestyle photos from flatlay
- Scale production quickly
VestiAI transforms your product photos into professional campaign photos in seconds, maintaining quality and reducing costs by up to 80%.
Conclusion
Creating professional photos for fashion e-commerce is a combination of:
- Good lighting (more important than the camera)
- Careful preparation of the pieces
- Consistency across all photos
- Smart use of tools and AI
Start today: Choose a piece, follow this guide, and create your first professional photo. Then, try VestiAI to transform it into a campaign photo.
Related Articles
How Many Photos Per SKU: 3, 5, or 8?
Discover how many photos you need per product to maximize sales. Analysis based on e-commerce conversion data.
Read article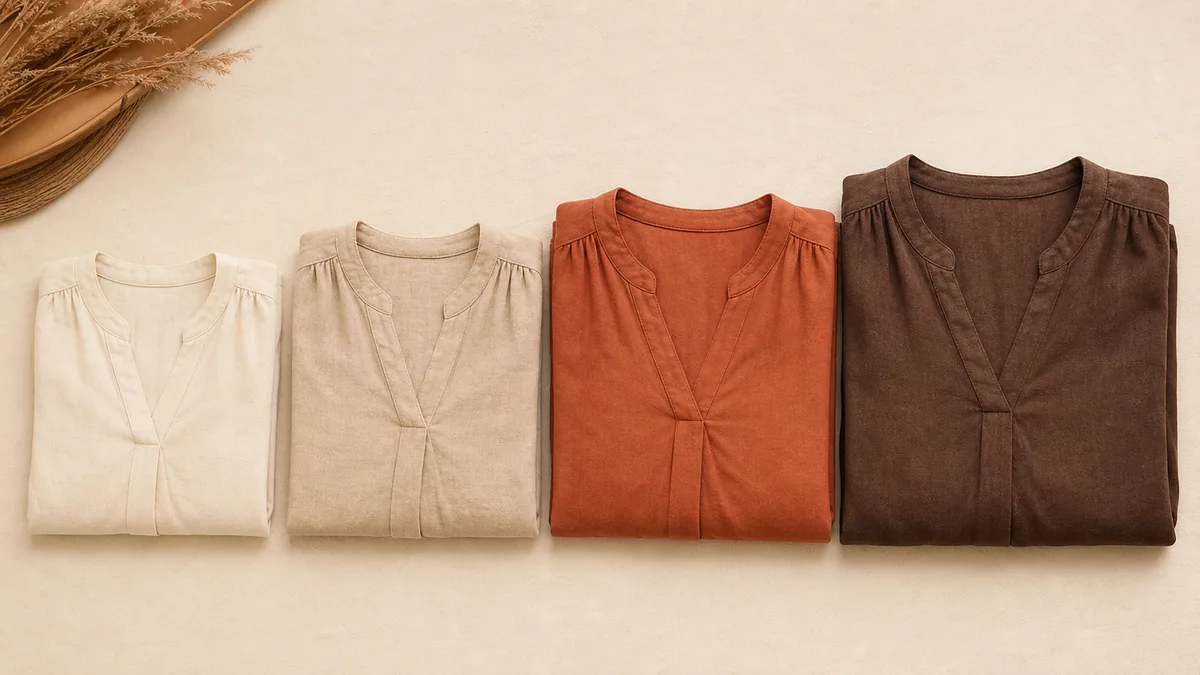
Diverse Models Choosing the Ideal for Your Audience
Learn how to choose virtual models that represent your target audience. Tips to increase identification and conversion.
Read article
How to Launch a Collection in 48h with Ready Photos
Learn how to launch your clothing collection in 48 hours using AI to create professional photos quickly. Step-by-step guide.
Read article